You have no items in your shopping cart.

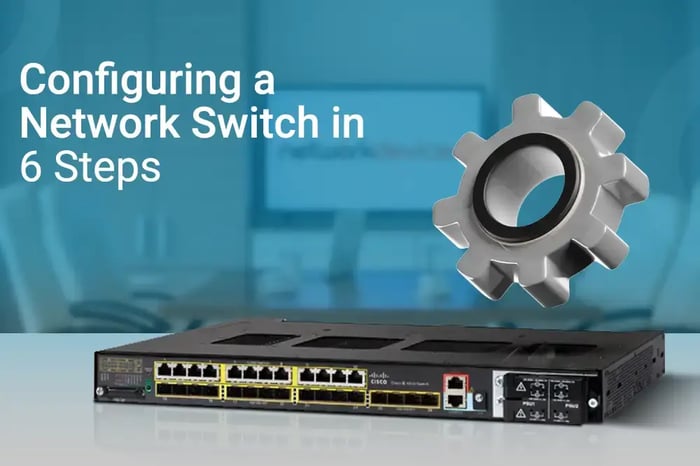
Configuring a Network Switch in 6 Steps
Although each brand and model has changing requirements while configuring a network switch, there are six basic steps to follow, no matter what model/brand you use. In this guide, we will go over these steps and provide other sources for brand-specific needs.
Network switches are an essential component of IT infrastructure because they help establish communication between different users, systems, and applications and, most notably, access the internet. Configuring a network switch, as recommended by the vendor, is very crucial. But again, this varies with the business type and requirements.
Also, the best security practices should be applied from the data link layer to prevent cyber-attacks. If you'd like to read our step-by-step guide on securing your network during configuration, you can read our article.
Network switches can be deployed in the network architecture at different levels. For Edge switches where the ISP links are terminated, a Distribution switch connects to an Access switch for the user or internal LAN management. On the other hand, Core switches are directly connected to critical servers and applications. It doesn't matter where the network switch is placed; configuring them as suggested would bring out the best performance and security.
However, there are six steps to be followed, no matter which brands and switch models you use.
6 Steps to Configure Your Switch
1. Inspect the hardware device
The foremost thing to do is perform a complete lookup and testing from the hardware level.
· Inspect your device for any physical damages
· Check the manufacturer's product model
· Look at the number of ethernet ports
· Look at the number of console ports
· Check LED status

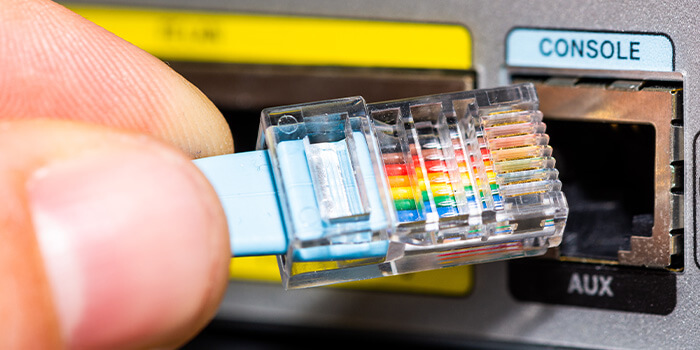
If everything looks fine from the outside, connect the power cables and turn the device on. Once the switch boots, check each ethernet port by connecting an ethernet cable. Check the console port by using the console cable. After the physical inspection, check the firmware version, model, memory, and other resources.
2. Setup Management IP and enable SSH
After completing the first step (the physical inspection), move on to setting up management IP for switch access management. It is an essential step.
Management IP allows administrators to access and make changes to the existing switch configuration. Generally, SSH service is enabled on switches by default. However, if it is not, enable SSH to access the switch command line interface CLI for advanced configurations and troubleshooting.
3. Set hostname and a banner message
The third step is setting up a hostname. It's especially crucial for complex and large networks. The hostname setting is done to identify the network switch and make it easier for users to find it.
Moreover, you can use a banner message to welcome new users or send warning messages for unauthorized access.
4. Change default credentials and create a new user
The network switches come with a default username and password for easy first-time setup and configuration wizard.
So, the fourth step in configuring a network switch is changing the default admin credentials. This is the best practice because leaving the credentials unchanged would allow intruders to gain unauthorized access. Using the default password also leaves network switches vulnerable to cyber-attacks.

Creating a new user with a strict password would eliminate the potential attacks.
5. Configure access and trunk ports
The access port on a network switch passes a single VLAN or a network subnet, whereas a trunk port passes multiple VLANs.
If you have a flat network architecture, consider configuring network switch ports as access mode. But set ports as Trunk mode if you have multiple VLANs and networks from a firewall or router. A trunk port is also important when you pass multiple VLANs from one switch to another.
When switch ports are configured in auto-negotiation mode, the connection type is automatically detected. It sets itself as either trunk or access mode.
6. Save the configuration and deploy it in the live network
After the initial configuration wizard and all the customization, check the connectivity status and network traffic. If everything is configured and expected, place the network switch live in the production network.
If everything looks fine from the outside, connect the power cables and turn the device on. Once the switch boots, check each ethernet port by connecting an ethernet cable. Check the console port by using the console cable. After the physical inspection, check the firmware version, model, memory, and other resources.
Next Steps
We covered the best practices for configuring a network switch. The above steps should be followed no matter what brand or switch model you use.

However, there are various network switch brands like Cisco, Aruba, Juniper, and many more in the market. Most brands have different configuration wizards and setup management. Cisco and Juniper offer training and courses to help you understand their product architecture and workflow. Cisco offers CCNA, and Juniper offers JNCP. Taking these courses helps administrators utilize their products for maximum performance while ensuring top-level security.
These brands also provide network switch configuration guides for their own products. If you want to move on to the specific guidelines now that we have covered the basics, you can read brand guides:
·Using CLI for Cisco Switch configuration
·Zero-touch-provisioning with Aruba
·Configuring Junos OS (for Juniper)
Also, remember that Network Devices is known for its top-notch, prompt customer service. You can CONTACT US for any queries.


